

Lumadex 0.7.0: sites from the sky, light towers and photo mode
Site Creator reads the aerial image, the Tower builder aims every floodlight and photo mode turns a design into a picture worth showing.
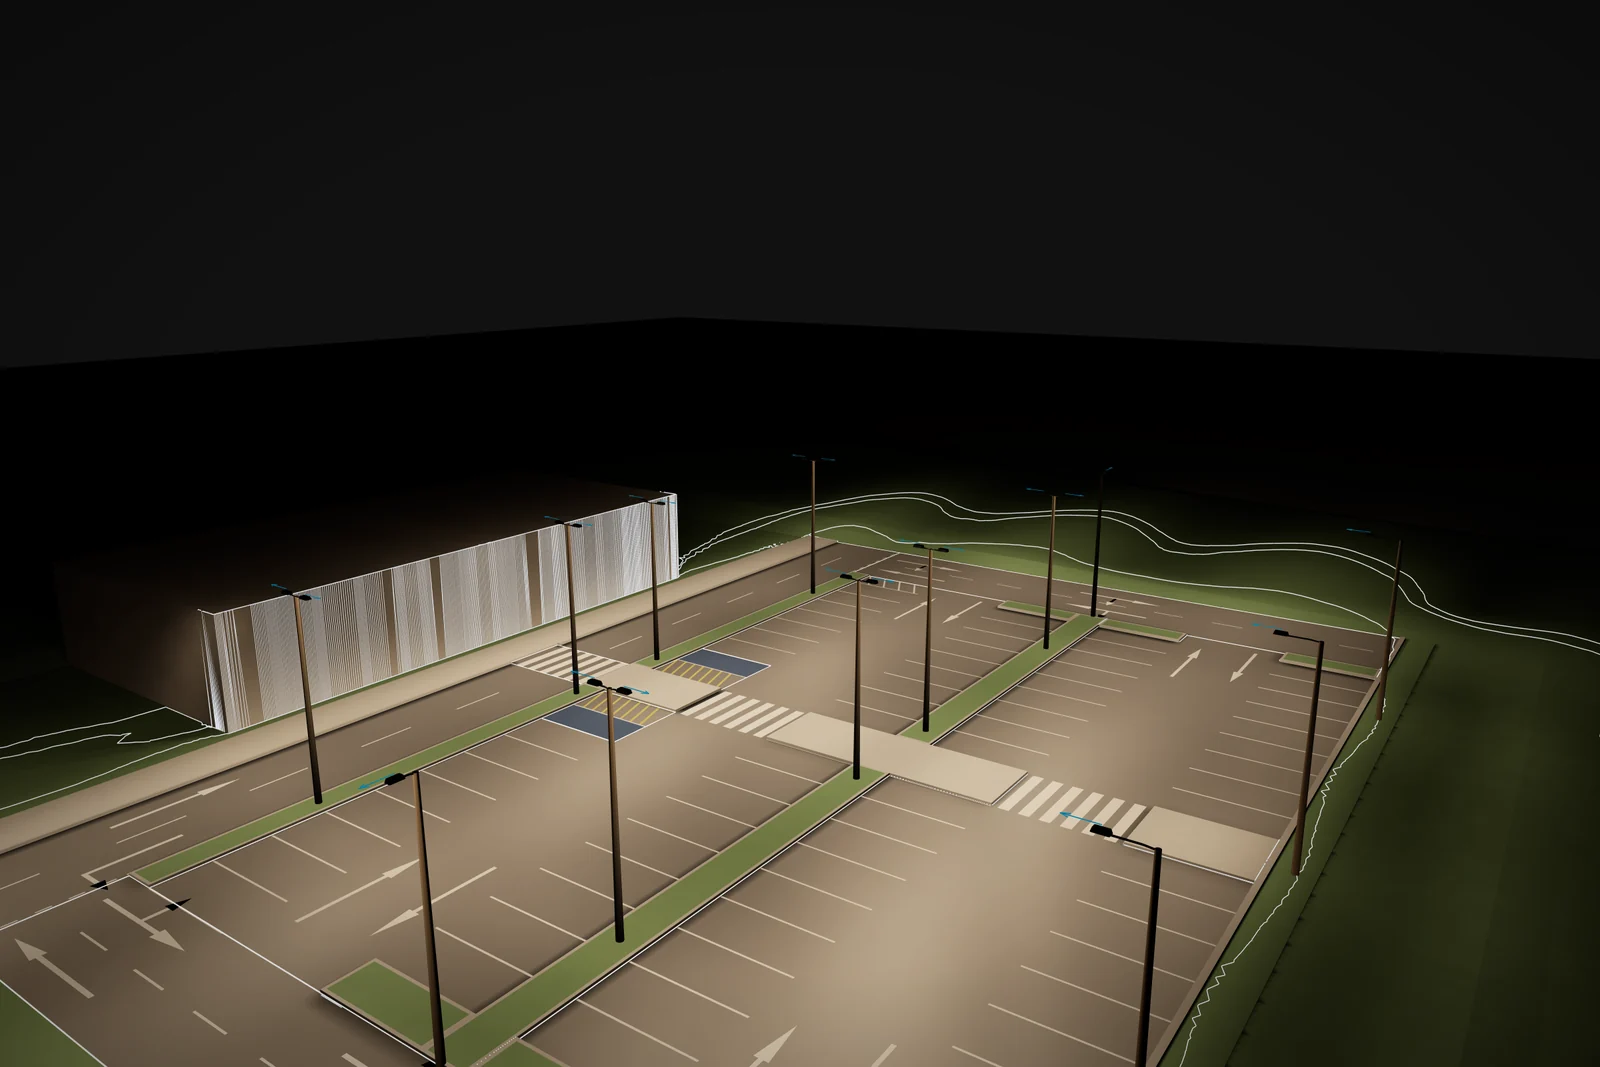
Lumadex 0.7.0 is the largest release of the year. It reads the ground from aerial imagery, lays out and aims sports light towers and gives every design a photography studio of its own.
Site Creator reads the aerial image
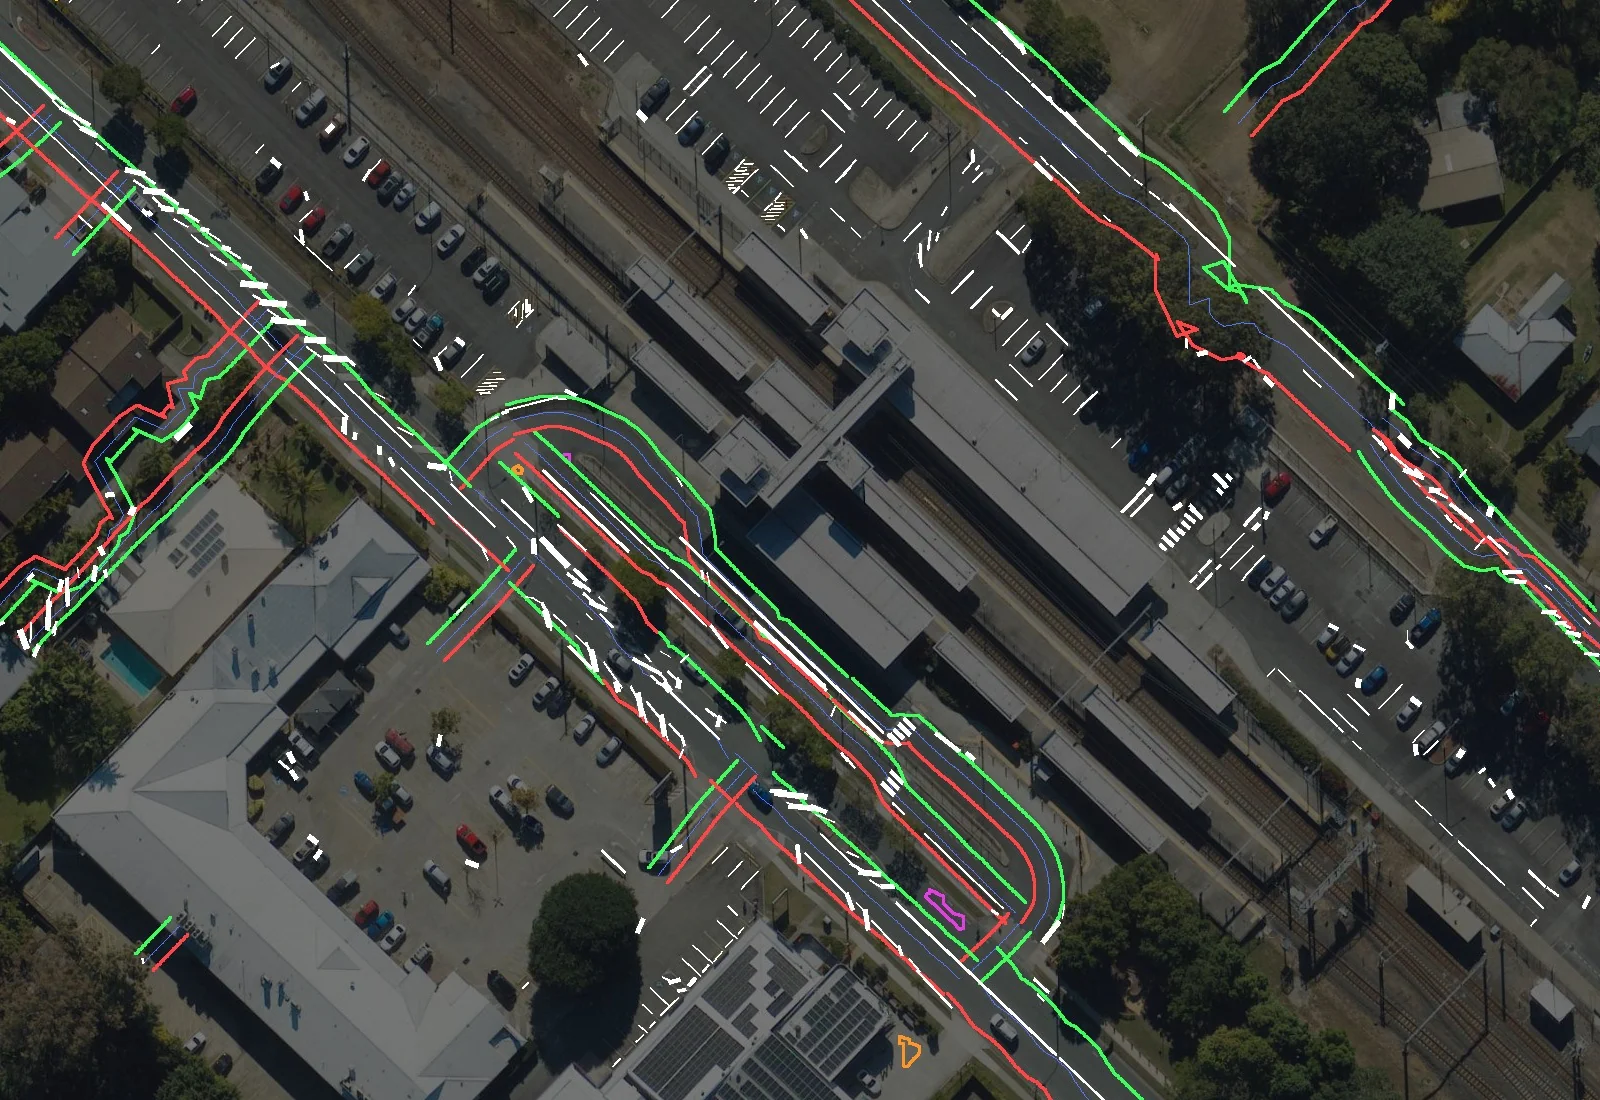
A site built from the map alone carries the map's assumptions: every street the standard width for its class, every road a few metres from where it really is. Site Creator now fetches the aerial image at 15 cm a pixel in the drawing's own coordinates and measures the site from it.
The map is aligned to the image first, as a whole and then road by road. Kerb lines are measured across each carriageway every metre and a half, stepping over parked cars and refusing to guess under tree canopy. Corners are closed with kerb returns sized to the roads they join. Painted line marking is read with its dash pattern and its colour. The forecourts and driveways the map leaves out are added on their own layers.
The report says exactly how much was measured and how much was assumed, so the model is as honest as the imagery allows.
Light towers and the aiming optimiser
The Tower builder in the sports module lays out light towers with their headframes. Floodlights are placed by double click, dragged to move or swap and aimed by dragging their aiming point across the field plan.
The aiming optimiser then aims every floodlight together. Each trial is a full calculation of that floodlight over the design grid with its measured photometry. The optimiser raises the minimum against the average without spilling light off the field and keeps every tilt within its limit. It then sets each headframe in order: the top row reaches farthest and every row runs left to right across the field, so the aiming lines fan out cleanly and the crew can set them from the schedule.
The aiming schedule lists the tower, position, aiming point, bearing and tilt of every floodlight and exports to CSV. Apply to model draws the columns, headframes and housings into the 3D scene.
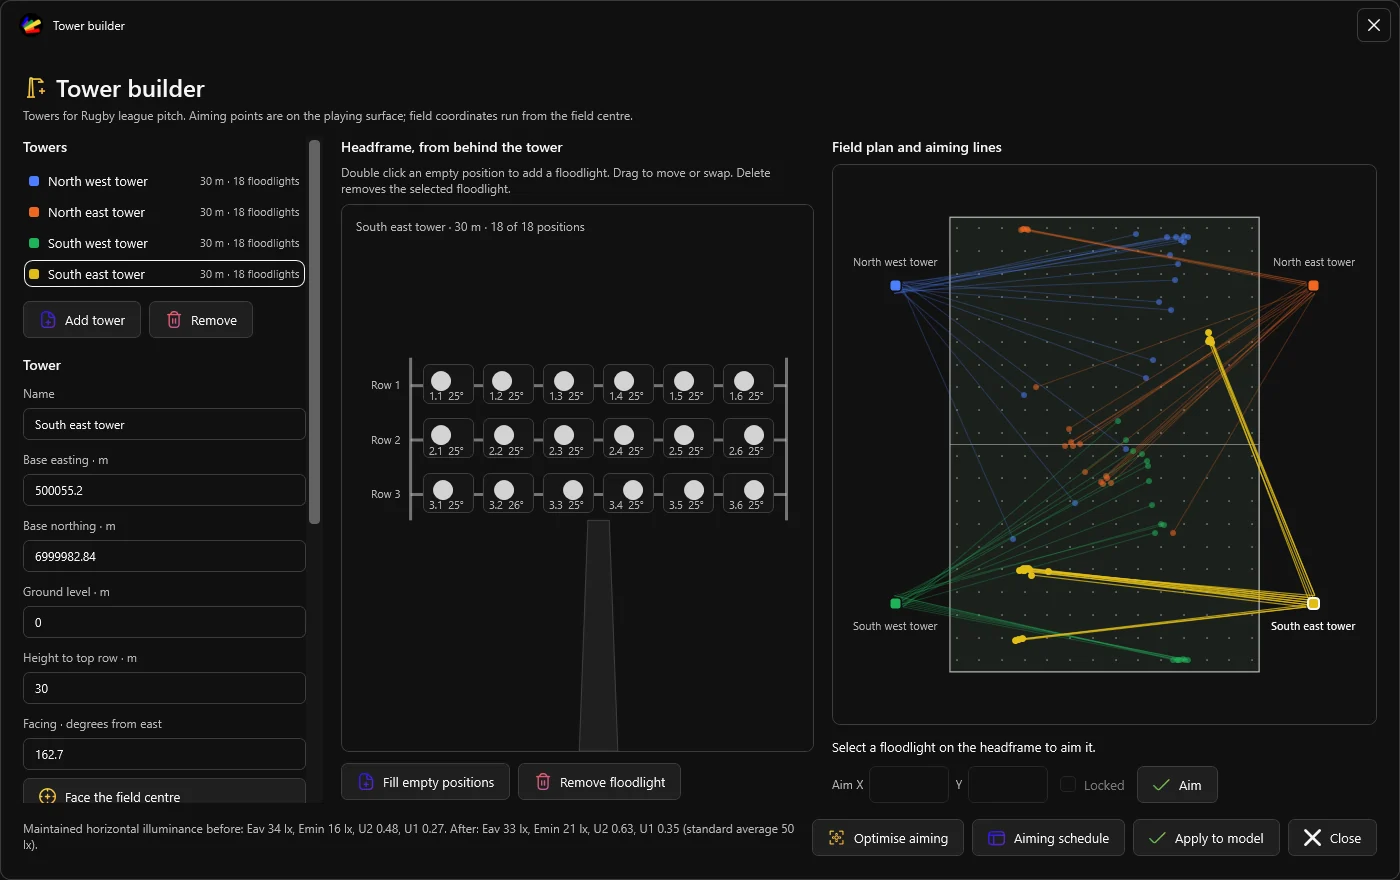
Photo mode
Press Ctrl+Shift+P and the viewport becomes a clean full window stage. The view cube, toolbars, grips and cursor are gone. Fly the camera with W A S D, look with the mouse, choose a lens from 16 to 85 mm and frame to a preset: website hero, card, square, portrait, story or print at 300 dpi.
Choose what is in the picture, from isolux contours and assessment hatches to imagery and CAD references. Switch the scene to the calculated night and the capture waits until the night is ready. Captures render on the graphics card at up to four times supersampling, so edges are clean at any size.
The night view at the top of this article was made in photo mode, straight from the design.
A new Lumadex Setup
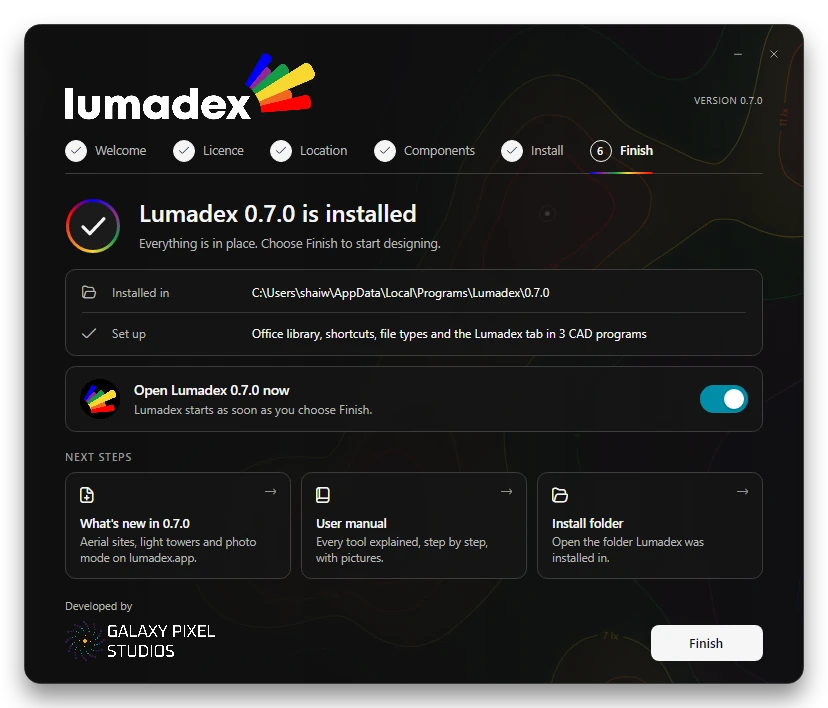
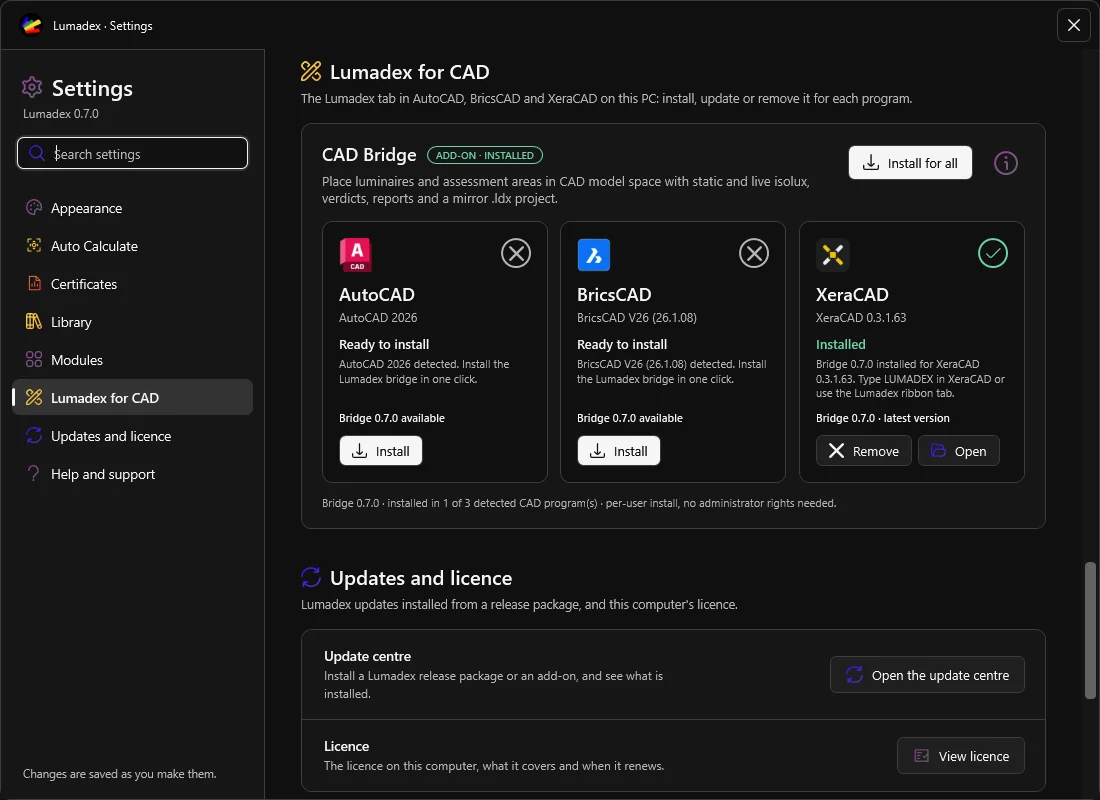
Lumadex installs with a new Setup in the look of the splash screen. It checks the .NET runtime and installs it when it is missing, lets you choose between your own account and everyone on the computer and shows the space each version needs on the drive. Every file is checked against the release manifest before it is written, each version keeps its own folder and the Lumadex tab is added to AutoCAD, BricsCAD and XeraCAD in the same step. Removing a version leaves the others, their shortcuts and your projects as they are.
Settings and the View menu
Settings is now one scrolling page with its sections down the side and a search field that finds any setting. Appearance shows the light and dark themes as they will look, Auto Calculate keeps the defaults for new areas and Lumadex for CAD lists every CAD program on the computer with its own install, update and remove. The View menu in the toolbar gathers the display mode, light output, quality, exposure, the day to night setting and the plan switches in one dropdown, like the other toolbar tools.
Lumadex for XeraCAD
The module has a fresh look in XeraCAD 0.3.1.62: the Lumadex tab carries its own spectrum outline, ribbon icons are drawn in colour and the pane lays itself out to the space it is given, from a narrow dock to three columns floating on a wide screen. Luminaire tooltips draw the intensity curves in colour, arrangements are chosen from drawn tiles and the project card shows the file, its folder and what has been saved.